Articulated Dust Collector Arm
Page 6: Inlet
The last bit to complete the arm is the actual inlet end. (See fig. 13 below and please pardon the duct tape, it's an old flex hose and needed some help. lol)
As my DC system is set up to use 4" hose, I used a 4" flexible dryer hose (heavy duty), a 4" crimped flex duct connect and a short piece of 4" PVC drain pipe which I cut on an angle that would allow me to position closer to the bottom of any bowl I may turn. Don't mind the duct tape, it's an old hose needing some patching. Fig. 14 shows the detail of the mouth end better. I used a block of pine under the PVC pipe that I cut to cradle the pipe section and cut a rabbet underneath to fit snugly over the square tubing to secure it to the tubing. This is not necessary as bolting it directly to the tubing will suffice. I tend to overbuild, then refine and this is the first version of this arm I made.
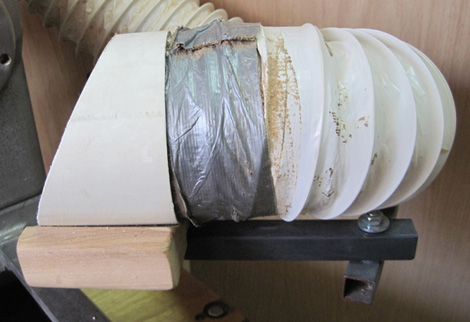
(fig.13)
A large fender washer beneath the bolt head has been shaped to fit the curve of the pipe and, after bolting the assembly to the tubing, silicone caulking was smoothed around the crimped connector bolt and washer to allow a smooth and unrestricted flow of shavings and dust into the DC system. (Shavings could tend to get caught up on any raised edges on the interior of the inlet and this eliminates that possibility.)
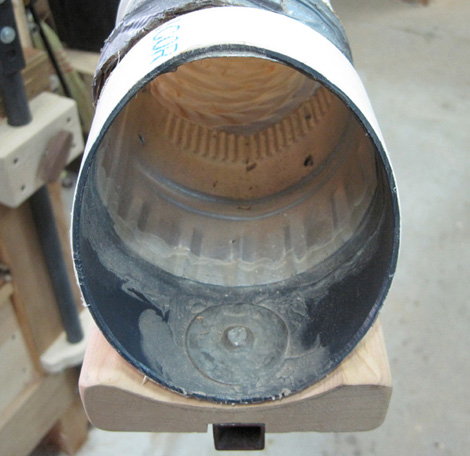
(fig.14)
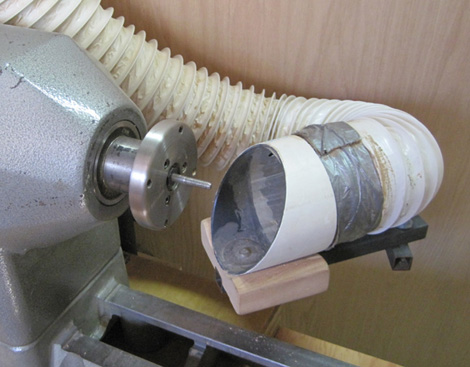
Here's the working business end of the assembly. Note how I can swing the inlet mouth around to collect from the back, front or side of any piece I'm working on.

(fig.15)
(fig.16)
Don't hesitate to email me via this site with any questions you may have and thanks for visiting. Good luck.
Jim